2026-08-19 · Mike Kowalski
Replacing Shower Valves in Homes With Original Copper Piping
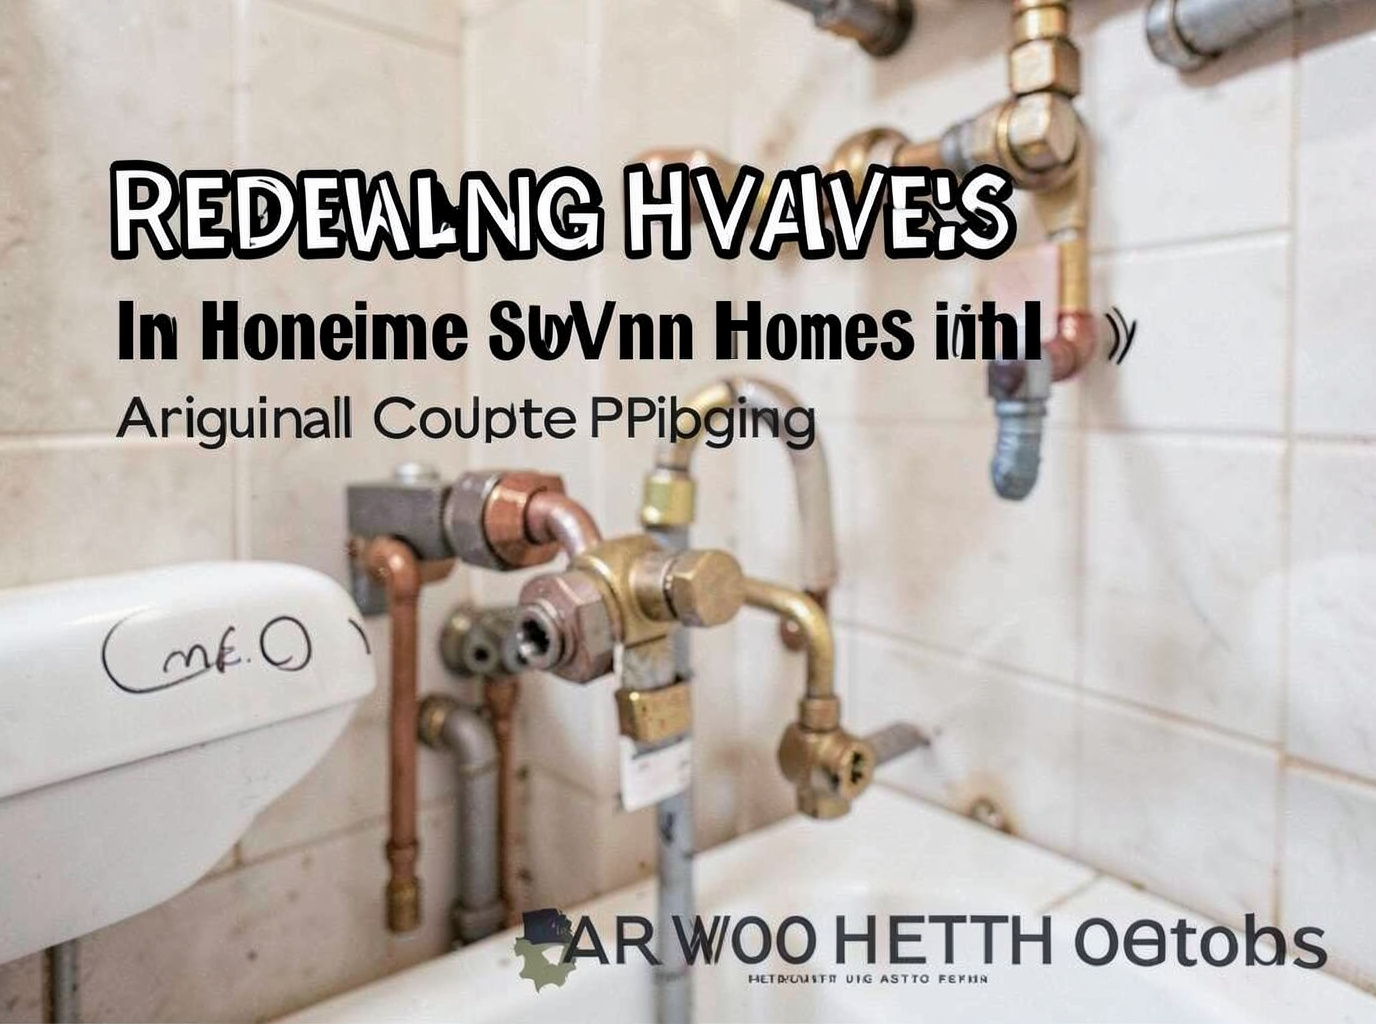
In Harwood Heights homes with original copper piping, replacing shower valves starts with shutting off the main water supply at the meter, then cutting back the old valve body while preserving enough straight pipe for new sweat fittings. This approach minimizes disruption to surrounding walls and reduces the risk of leaks at joints that have sat undisturbed for fifty years or more.
Assessing Copper Condition Before Work Begins
Original copper in Harwood Heights and Norridge neighborhoods frequently shows green oxidation and scale buildup from decades of Chicago-area water chemistry. A visual inspection of exposed pipe near the shower often reveals pinholes or thinned walls that will not hold new solder. When these signs appear, extending the replacement into adjacent straight runs prevents callbacks. Technicians working out of 4338 North Newland routinely carry a mirror and flashlight to check behind tile without full demolition. Local soil movement in Cook County can also stress older joints, so checking for movement at the valve stub-out helps decide whether to re-pipe a short section or simply swap the cartridge housing.
Step-by-Step Valve Replacement Process
Begin by isolating the hot and cold supplies and draining the lines through the lowest fixture in the home. Score and cut the copper 3–4 inches back from the old valve using a tubing cutter to leave clean ends. Clean the pipe and new valve sockets with emery cloth until bright, then apply flux sparingly to avoid drips inside the line. Heat the joint evenly with a propane torch until solder flows, wiping excess with a damp rag. After both sides cool, pressure-test at 60 psi for ten minutes before closing the wall. In homes near Ridgeland Commons where layouts are compact, this sequence keeps dust contained and avoids moving large sections of pipe.
Common Challenges in Older Cook County Homes
Tight stud bays in 1950s–1960s construction limit torch angle and make it easy to overheat nearby insulation. Corrosion flakes can travel downstream and clog aerators, so flushing each line thoroughly after soldering is required. When the original piping runs through plaster rather than drywall, patching demands matching the existing texture to satisfy homeowners in Norridge. Low water pressure complaints often trace back to partially blocked valves; addressing the valve alone may not resolve the issue if sediment has collected farther downstream, which is why many residents first review what causes low water pressure in homes near O'Hare.
Seasonal Timing and Climate Effects
Harwood Heights experiences humid continental swings that expand and contract copper over decades, loosening solder at valves. Scheduling replacement during milder shoulder seasons reduces the chance of pipes sweating in summer humidity or freezing during January cold snaps. Winter work requires draining lines completely and adding pipe insulation afterward to prevent repeat failures. For homes near Harwood Heights Village Hall where basements stay cooler year-round, condensation on newly installed valves can drip onto finished ceilings if the valve body is not wrapped.
When Additional Pipe Work Becomes Necessary
If the copper shows repeated pinholes or the valve sits behind built-in cabinetry, extending the job to replace a 4–6 foot section often proves more reliable than repeated small repairs. Linking the new valve to existing lines with proper support prevents future movement. Residents facing ongoing issues sometimes combine this work with shower repair or pipe repair to address multiple fixtures in one visit. This integrated approach keeps disruption limited to a single day rather than repeated entries.